04 May 2026 · 5 min read
Dye Sublimation vs Screen Print: Mic Cover Printing Methods Explained
Most custom mic covers use one of three printing methods. They look identical when new. They look very different after a year of use.
Most custom mic covers use one of three printing methods. When they leave the shop, they look identical. After a year of use, they look very different.
If you're spending £20-30 on a custom cover, the print method matters more than almost any other factor. Here's the breakdown.
Method 1: Dye sublimation (the gold standard)
Dye-sub uses heat and pressure to bond the dye directly into the foam fibres. Not on top of the foam — into it.
How it works: the design is printed onto transfer paper using sublimation inks. The transfer is pressed against the foam at ~200°C. The heat turns the ink into gas, which permeates the foam and re-solidifies inside the cell structure.
Visual identifier: the surface still feels exactly like foam. No texture change. Colours look slightly soft (not razor-sharp).
Lifespan: 2-4+ years. The print is part of the foam.
Pros:
- Doesn't crack, peel, or wear off
- Full-colour designs work (multi-colour gradients, photos)
- The foam stays acoustically transparent (no surface layer to dampen sound)
- Survives cleaning (light methods)
Cons:
- Slightly softer colour vibrancy than screen print
- Requires PU foam (doesn't work on PE)
- Setup cost is higher (per-order, not per-design)
This is what we use for all our custom mic covers. It's the only method that lasts more than 12 months without visibly degrading.
Method 2: Screen printing
Screen printing pushes ink through a fine mesh stencil onto the foam surface. The ink sits as a thin layer on top of the cell structure.
How it works: a stencil is made for each colour in the design. Ink is forced through the stencil onto the foam. Multiple passes for multi-colour designs. The foam is then heat-cured to set the ink.
Visual identifier: you can feel the print as a slightly raised, slightly stiff layer when you run your finger over it. The colours are razor-sharp and vivid.
Lifespan: 1-2 years before visible cracking around flex points.
Pros:
- Very vivid colours (more saturation than dye-sub)
- Cheap per-cover at high volume (50+ covers)
- Works on both PU and PE foam
Cons:
- Print cracks at flex points (where the foam compresses when you fit it on the mic) after 6-12 months
- Limited to ~4 colours per design (one screen per colour)
- Slightly dampens upper midrange (the surface layer absorbs ~1-2dB at 4-8 kHz)
- Setup cost per design (not per-order)
Common at high-volume event suppliers because the per-cover cost drops dramatically at 100+ quantity.
Method 3: Digital direct print (DTG / inkjet on foam)
Direct printing from a digital inkjet onto the foam surface. Lower-cost alternative to dye-sub, common in Etsy generalist shops.
How it works: a specialty inkjet printer sprays UV-curable ink directly onto the foam. The ink cures on the surface under UV lamps.
Visual identifier: surface feels slightly stiffer/glossier than untreated foam. Colours are sharp but the print is visibly "on top" rather than "in" the foam.
Lifespan: 6-18 months.
Pros:
- Very low setup cost (good for 1-3 cover orders)
- Photo-quality detail
- Cheap per-cover at low volumes
Cons:
- Worst longevity of the three methods
- Cracks at flex points fast
- Surface texture noticeably different to bare foam
- Visible "print boundary" where the design ends and the bare foam starts
We don't use this method. It's most common in Amazon-listed mic covers from overseas suppliers where pricing is the dominant factor.
What you should look for
When buying a custom cover, ask the seller:
- What print method do you use? A confident shop will tell you (and probably recommend dye-sub).
- How long does the print last? Anything less than "2 years" suggests a cheaper method.
- Can I clean it without ruining the print? Dye-sub: yes (gently). Screen: yes. Digital: usually no.
- What happens if the print cracks? Reputable shops will reprint at cost. Cheap shops won't.
If you can't get clear answers, walk away. A cover that costs £25 and lasts 6 months is more expensive per year than a cover that costs £30 and lasts 3 years.
The economics
At 3-year lifespan and £30 retail: £10/year of foam.
At 1-year lifespan and £25 retail: £25/year of foam.
The cheaper option costs 2.5× more annually. Dye-sub is essentially always the right choice for any podcast/YouTube/event use case where you want the cover to stay looking good.
What we do
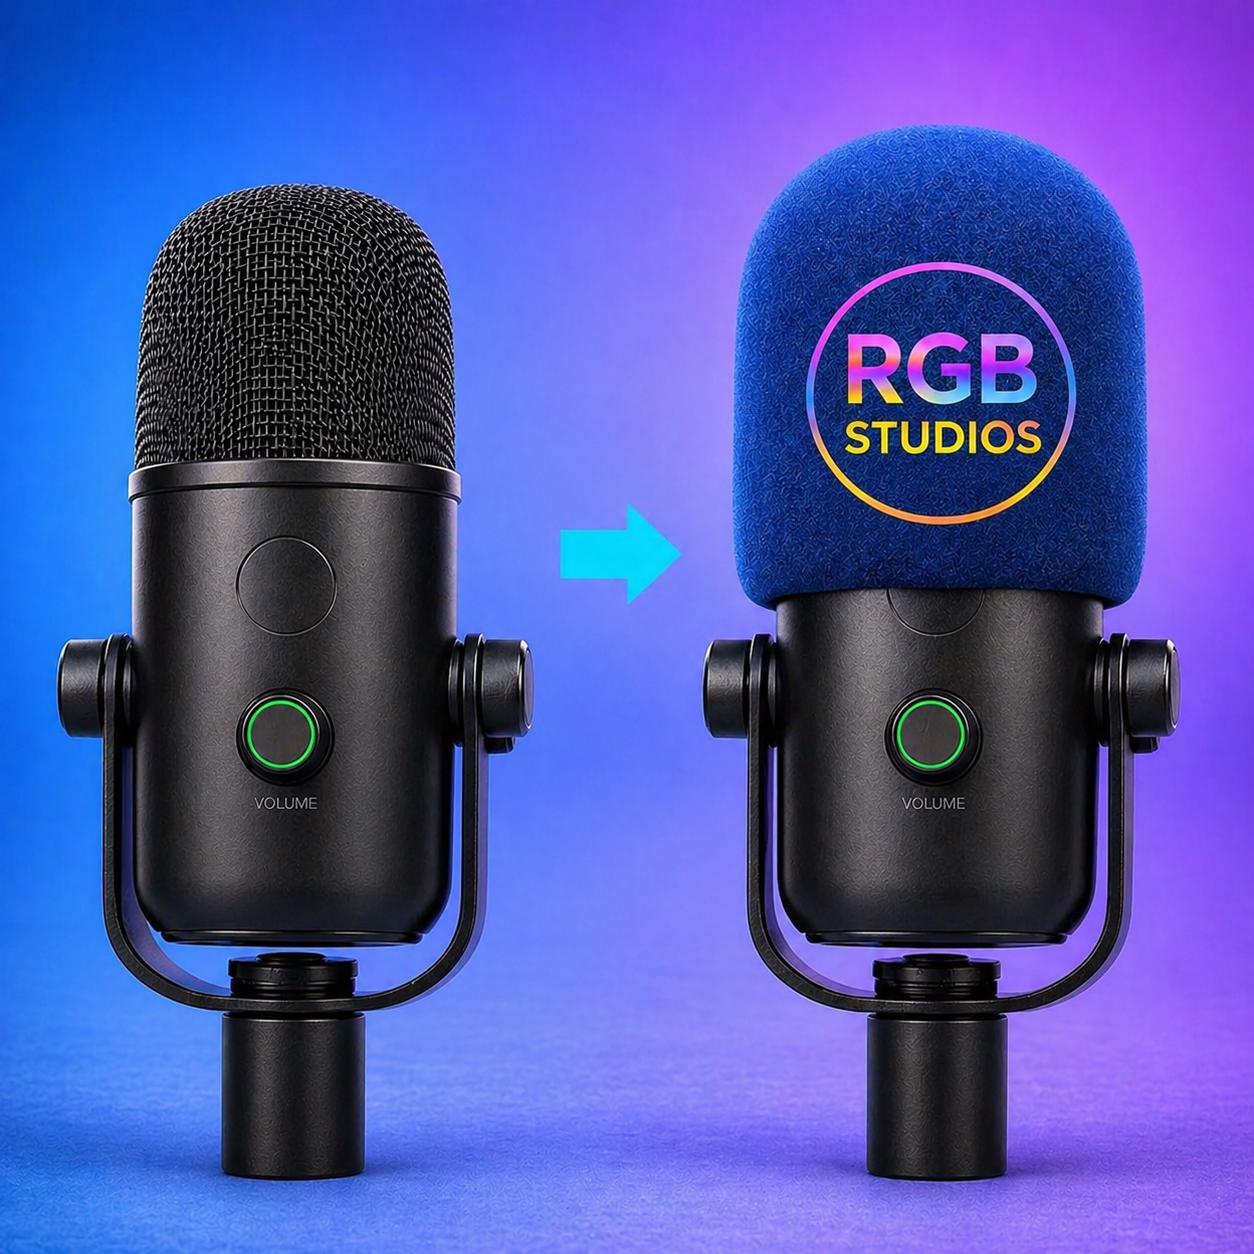
We use dye-sublimation exclusively on PU foam for all our custom mic covers. This is the highest-longevity combination available. Our covers typically last 2-4 years in normal use. We've had customers reorder identical covers we made 3 years ago, after the originals finally wore through.
See covers by mic model. Standard 3-day turnaround. Same print quality on a £20 cover as on a £200 multi-cover bulk order.
Bottom line
Every mic cover supplier prints somehow. The method makes the difference between a cover that looks pro at year 1 vs year 3. Dye-sub on PU foam is the right answer 95% of the time. Avoid anything cheaper.
Shop the gear in this guide
Ready to brand your microphone?
Premium custom-printed mic covers, made in London. 2-3 day turnaround.
Browse the shop