11 May 2026 · 7 min read
How to Brand Your Podcast Microphone (Without Making It Look Cheap)
A logo on your mic is the most-watched real estate in podcasting. Here are eight rules — learned from 300+ podcast clients — for getting it right.
Watch any episode of Joe Rogan, Smartless, or Theo Von and you'll notice something: the mic is on-screen for roughly 80% of the runtime. More than the host's face. More than any sponsor graphic. More than the show title card.
If you're producing a podcast — solo, two-host, panel — that piece of foam on your microphone is the most-watched piece of branding you'll ever own. And yet most podcasters either ignore it entirely (grey foam, brand invisible) or get it wrong in a way that screams "I made this in Canva at 11pm."
Here are the eight rules we've learned from printing custom mic covers for over 300 podcasts.
Rule 1: Treat the cover like a logo lockup, not a sticker
The cover wraps 360° around a cylinder. That's not a flat canvas — it's a curve. A square or rectangular logo will distort, get cropped at the seam, or look squashed when seen from a 3/4 angle.
The fix: design a "lockup" that works on a curve. Either a horizontal wordmark that can wrap around a third of the circumference and tile, or a centred icon that reads cleanly from any rotation. Test it by printing a paper mockup, cutting it into a strip, and wrapping it around a tin can.
Rule 2: Don't put text smaller than 12pt on the cover
The print area is about 110mm tall. Anything smaller than 12pt becomes mush when it hits the foam at ~150 DPI. Strap lines, web addresses, and tagging are tempting to add — they always look cheap.
The fix: logo only. Save the URL for the lower-third, not the foam.
Rule 3: Pick one brand colour, not five
Multi-coloured gradients and rainbow logos look fine on a screen. On foam, the dye-sublimation process washes between colours, and a five-colour logo will look like a three-colour logo with bruises.
The fix: monochrome logo on a brand-colour foam background. Or brand-colour logo on white foam. Two-tone is the sweet spot.
Rule 4: White-on-coloured beats coloured-on-white
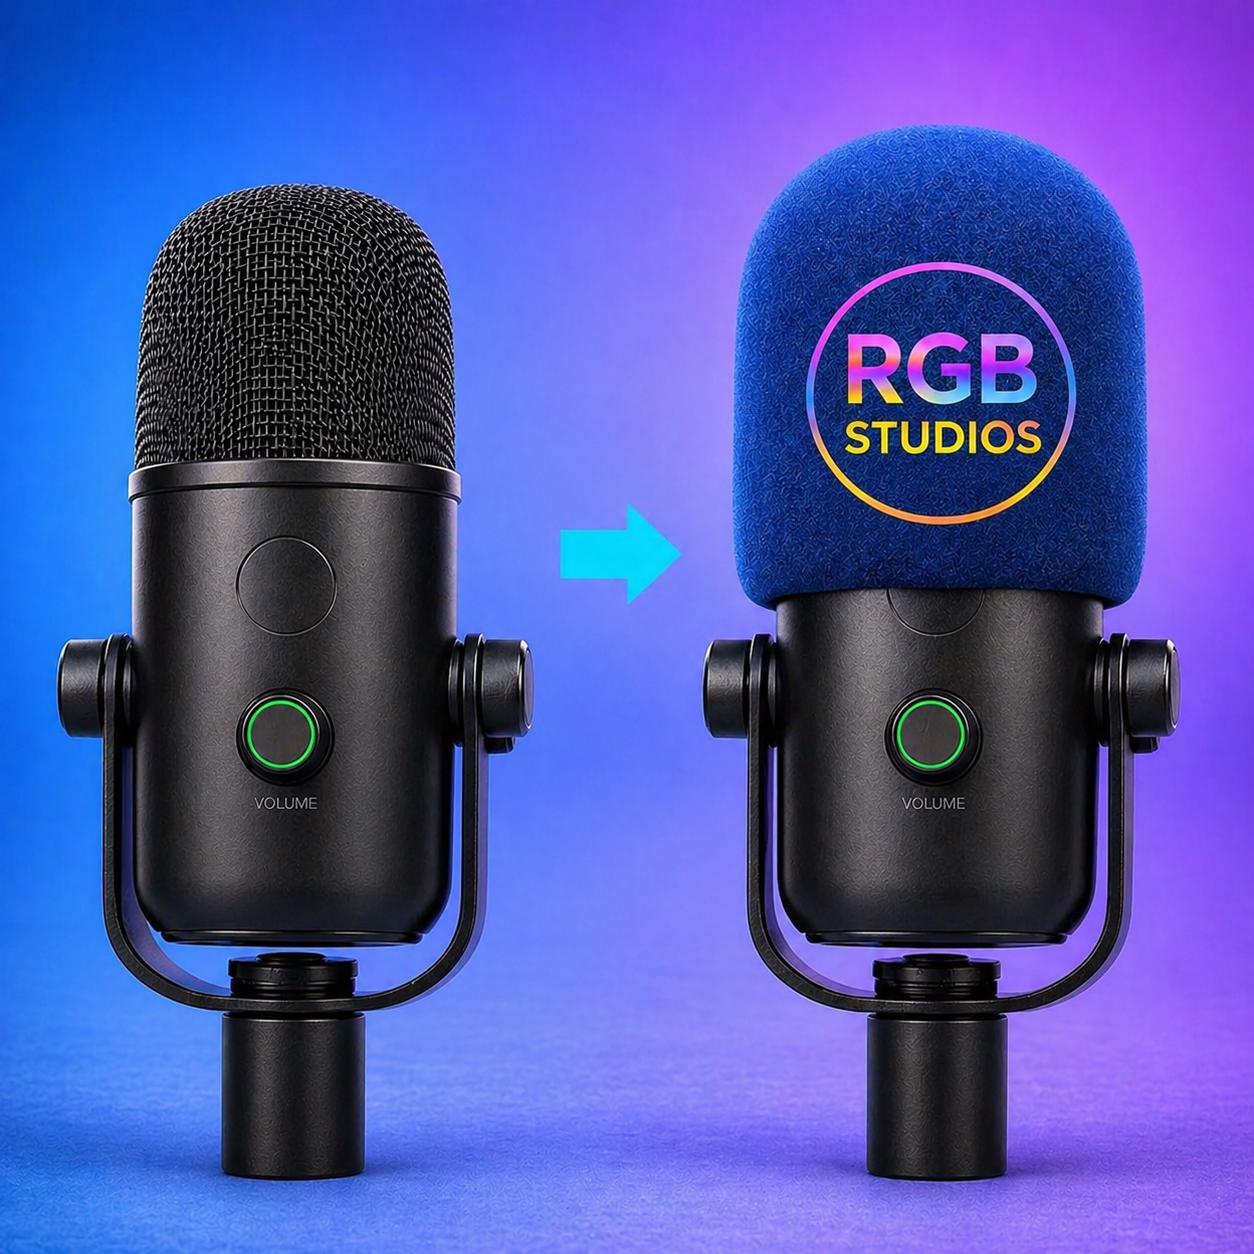
Because dye sublimation goes into the foam rather than sitting on top, dark colours read deeper and richer than light ones. A white logo on dark navy foam will pop. A navy logo on white foam will look slightly washed out under stage lights.
The fix: lead with a dark or saturated foam colour and reverse the logo to white.
Rule 5: Match the mic, not the studio
If you have a black SM7B and a black mic arm, a black-foam custom cover looks tactical and pro. But if you're using a Rode PodMic with a bronze body and a wooden desk, a black cover fights the mic — go for something earthy.
The fix: stand the proposed cover colour next to your actual setup before approving the proof.
Rule 6: Foam covers vs flags vs combinations
Foam cover only — Most podcasts. Cylindrical print around the mic capsule. Subtle, professional, always in frame.
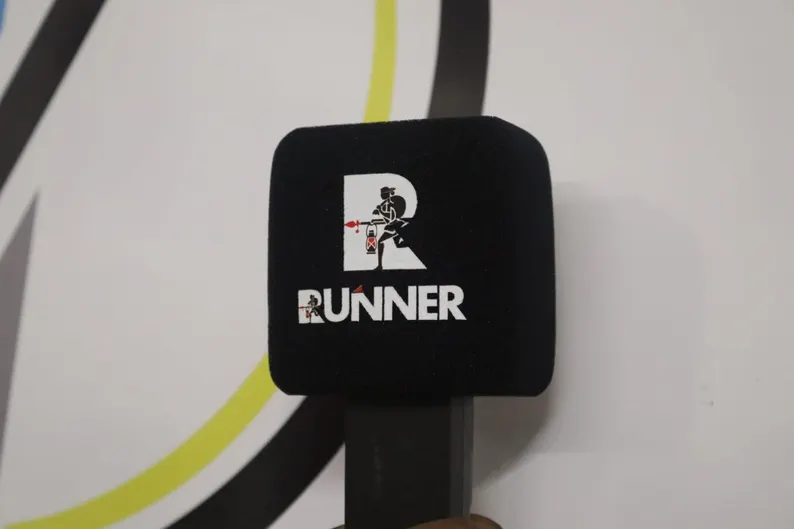
Mic flag only — News, panel shows, conference recordings. Square or pentagonal flag mounted on the mic stand or barrel. Bigger logo area, more visible at a distance.
Both — Premium podcasts or events. Foam cover for close-ups, flag for wide shots. Lets you brand differently at different distances.
If your podcast is one host and one camera angle, you don't need the flag. If you do live events, you almost certainly do.
Rule 7: Order spares
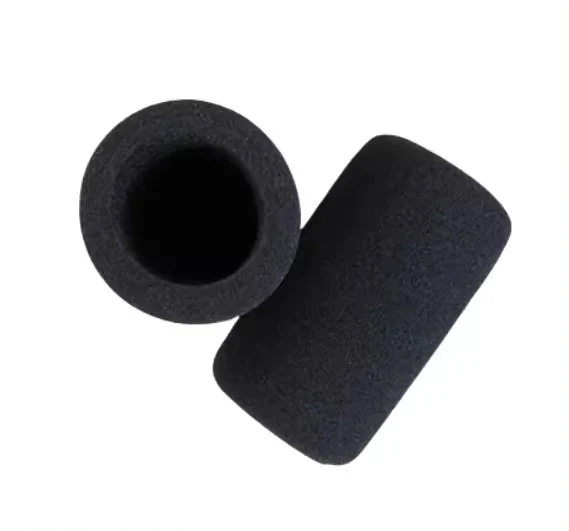
Foam covers are consumables. They get squashed in flight cases, they pick up makeup, they slowly absorb breath moisture. Pro podcasters keep at least 2× the number of covers as microphones.
The fix: order in batches of 5 or 10 even for a single-mic show. The per-unit price drops with our volume discount, and you'll thank yourself when one gets crushed mid-tour.
Rule 8: Get a proof before you commit
This is the rule almost everyone breaks the first time. You see a render on a website, you place the order, the print arrives, and it's two shades darker than you expected. Now you have a box of slightly-wrong covers.
The fix: every order from us goes through a free digital proof. You see a flat preview of the print before we commit ink to foam. Approve it, change it, send revisions — no extra charge. The 30-minute wait for the proof email is the cheapest insurance in podcasting.
What about Rode PodMic specifically?
The PodMic is the most-asked-about mic in our inbox. Its 52mm diameter means stock windscreens look comically oversized on it — they wobble. We make a PodMic-specific cover with a slightly tighter inner diameter that grips the capsule properly without compressing the foam.
If you've got a PodMic, order the Rode PodMic custom cover — the model-specific fitment makes a visible difference on camera.
Three pricing tiers we see in practice
- Solo podcaster — 1 mic, 2 covers, 2 colours: ~£32 + shipping
- Two-host show — 2 mics, 4 covers, brand + alt colour: ~£64 + shipping
- Panel/event show — 4–6 mics, 10+ covers, plus mic flags: ~£200+ depending on flag style
We do bulk quotes for shows running 6+ recurring mic positions — message us at [email protected] with how many you need.
Bottom line
You wouldn't run your show with a grey, unbranded thumbnail on YouTube. The mic foam is the same opportunity — 80% of your screen time, zero recurring cost, and a couple of weeks lead time on the first order. After that, every episode is branding you don't have to think about.
Shop the gear in this guide
Ready to brand your microphone?
Premium custom-printed mic covers, made in London. 2-3 day turnaround.
Browse the shop